
Auto paint damage impacts a car's aesthetics and resale value, making early detection crucial through regular inspections. Repairs range from DIY bumper fixes for minor bumps to comprehensive professional services for deeper dents. Right tools, like dent repair kits or extensive material sets, ensure a professional finish matching pre-damaged condition, saving time and money.
Every car owner should familiarize themselves with basic auto paint repair techniques to keep their vehicles looking their best. Understanding common causes of paint damage, such as chips, scratches, and dents, is the first step. Armed with the right tools and materials—including fillers, primers, and paints specifically designed for cars—you can effectively fix minor paint issues at home. This article provides a comprehensive guide to navigating auto paint repair, from identifying damage to applying the final touch, ensuring your car maintains its glossy finish.
- Understanding Auto Paint Damage and Its Causes
- Essential Tools and Materials for Paint Repair
- Step-by-Step Guide to Effective Auto Paint Repair
Understanding Auto Paint Damage and Its Causes
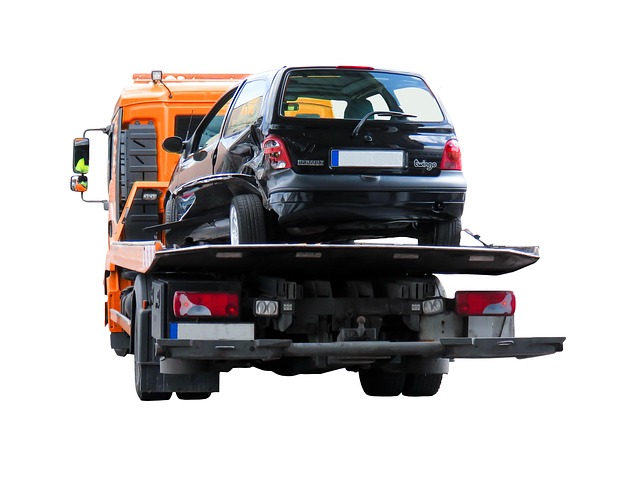
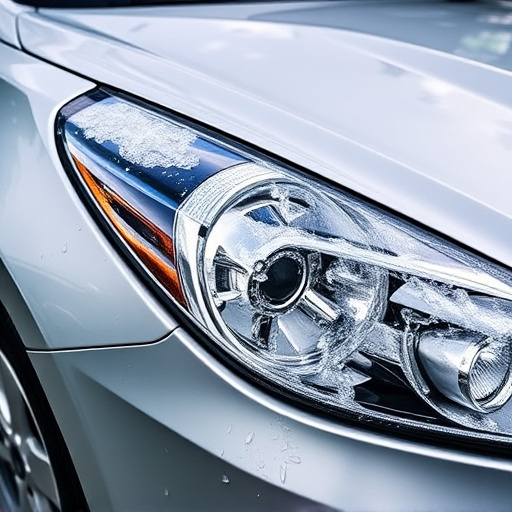
Understanding auto paint damage is crucial for every car owner looking to maintain their vehicle’s aesthetics and value. Paint damage can arise from various sources, such as minor scratches, chips, dents, and even severe bumps or collisions. These issues not only affect the visual appeal of your car but also its overall market value. Regular inspection is key; checking your paint job for any signs of wear and tear will enable you to catch potential problems early on, making them easier and less expensive to repair.
Different types of car damage repair are necessary for various forms of paint damage. For instance, a simple bumper repair might suffice for minor bumps or scratches, while more extensive auto paint repair could be required for deeper dents or significant chipping. Staying informed about these issues and their solutions is part of proactive vehicle care, ensuring your car looks its best and remains in top condition.
Essential Tools and Materials for Paint Repair

When it comes to auto paint repair, having the right tools and materials is essential for achieving a professional finish. You’ll need a variety of items, ranging from basic to specialized, depending on the extent of the damage. For minor scrapes and dents, a car dent repair kit can be your best friend; these kits often include a putty knife, filler, and polishing compounds. For more significant paint issues, investing in quality auto paint and primer is crucial.
Additionally, a reliable set of sandpaper (in various grits) is necessary for smoothing out imperfections and preparing the surface before painting. You’ll also require a good quality paintbrush, a spray gun (for efficient application), and a suitable solvent or cleaner to degrease and clean the area thoroughly. Remember, the right materials can make all the difference in the outcome of your auto paint repair efforts, ensuring your car looks as good as new.
Step-by-Step Guide to Effective Auto Paint Repair

Auto paint repair is a skill every car owner should possess, as it can save time and money when addressing minor scratches or dents. Here’s a straightforward guide to help you achieve professional-looking results at home:
1. Assess the Damage: Start by inspecting the damaged area closely. Minor chips, cracks, or light scratches can often be repaired with simple tools and materials. For more extensive damage, involving deep dents or large areas of peeling paint, it might be best to consult an auto body shop for a comprehensive car body repair.
2. Gather Your Supplies: You’ll need specific tools tailored for auto paint repair. This includes a fine-grit sandpaper (1500-2000 grade), a plastic scraper or knife for removing damaged paint, a putty knife for applying filler, and automotive primer and paint in the exact color of your vehicle. Ensure you work in a well-ventilated area due to the chemical nature of these products.
3. Prepare the Surface: Begin by gently sanding the affected area with the fine-grit sandpaper to ensure the surface is smooth and free of debris. Wipe away dust with a damp cloth. Let it dry completely before proceeding.
4. Remove Damaged Paint: Using the plastic scraper, carefully lift the damaged paint layer from the car body. Be gentle to avoid deepening the dent or damaging surrounding areas. Once removed, clean the surface thoroughly.
5. Fill and Sand: Apply a thin layer of auto body filler with the putty knife, filling any depressions or gaps. Let it dry, then sand gently until the surface is smooth and even with the surrounding paint.
6. Prime and Paint: After sanding, wipe away dust again and apply automotive primer, allowing it to dry completely. Finally, use the exact match of your vehicle’s color for a seamless finish. Apply thin, even coats, waiting between each for the paint to dry.
Auto paint repair is a valuable skill every car owner should possess. By understanding common causes of paint damage and having the right tools, you can effectively address minor dents and scratches, maintaining your vehicle’s aesthetic appeal and value. Following the step-by-step guide in this article, you’ll be well-equipped to tackle small-scale auto paint repairs, ensuring your car looks as good as new.